
Imagine picking up a 16 GB Nvidia V100 GPU for about $100. That sounds like a steal — until you realize it uses an SXM2 socket instead of a standard PCIe slot. Enterprise hardware often comes in proprietary form factors, and that is exactly why those cards end up so cheap on the secondhand market. With the right sxm2 pcie adapter, you can bridge the gap and run modern AI models at speeds that rival — or even beat — a current-generation consumer card. Below we explore three distinct ways to accomplish this conversion, along with the trade-offs each approach brings.
The SXM2 Challenge: Why You Need an Adapter
Nvidia designed the SXM2 socket for high-density server environments. Cards like the V100 slot directly into a server motherboard that provides both power and data through a custom connector. Consumer motherboards lack this connector entirely. Without an adapter, the GPU is useless outside a server chassis.
The PCIe version of the same V100 card typically sells for $1,000 or more on the used market. The SXM2 variant, because it requires extra hardware, often costs a fraction of that. That price difference creates a compelling arbitrage opportunity for hobbyists and small-scale AI enthusiasts. But you need to solve the interface problem first.
Three main approaches exist: a dedicated adapter board, a DIY fabrication route, and an enterprise workaround using server hardware. Each method has its own cost, difficulty level, and performance implications.
Way 1: The Dedicated SXM2 to PCIe Adapter Board
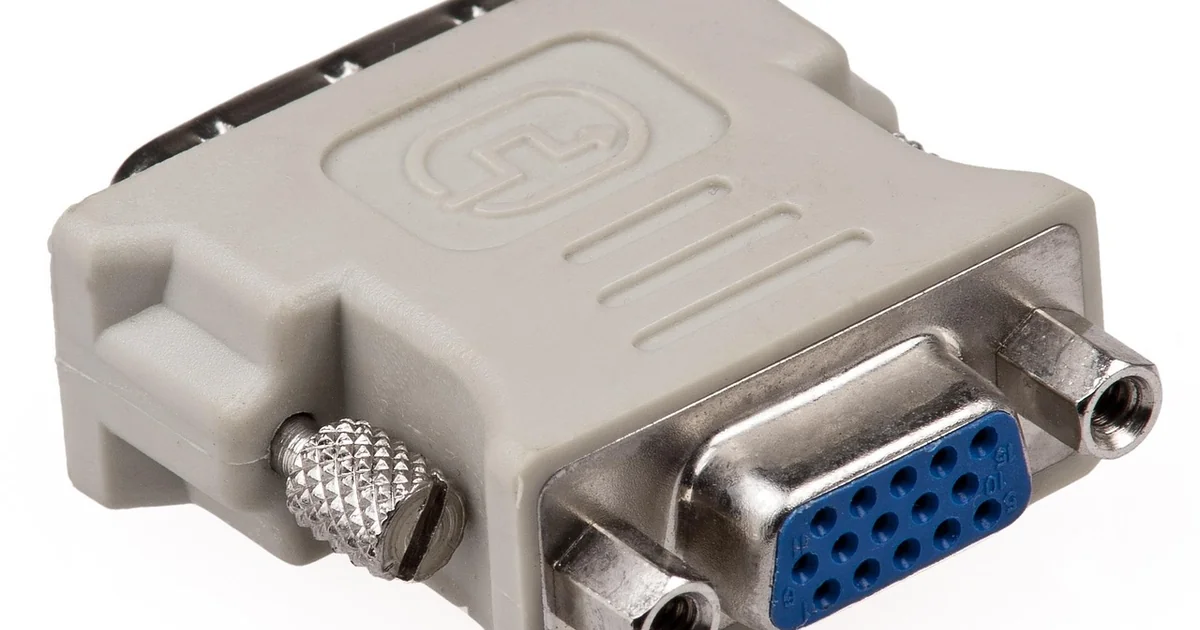
The most straightforward solution is to buy a purpose-built sxm2 pcie adapter. These boards convert the SXM2 edge connector into a standard PCIe x16 interface. They also handle power delivery, often requiring additional power cables from your PSU.
How It Works
The adapter board contains a PCIe slot on one side and an SXM2 socket on the other. You insert the V100 (or other SXM2 GPU) into the adapter, then plug the adapter into any free PCIe x16 slot on your motherboard. The adapter routes the PCIe lanes and provides the necessary voltage rails. Most adapters need two 8-pin PCIe power connectors from your power supply.
Cost and Availability
These adapters typically cost around $100. Combined with a $100 SXM2 V100, your total outlay is about $200 — still far less than the $1,000+ PCIe version. Availability can be spotty; they are often sold on AliExpress or through specialized hardware forums. Because demand is rising, prices may increase as more people discover this budget AI path.
Compatibility Considerations
Not every adapter works with every motherboard. Some require specific BIOS settings, like enabling Above 4G Decoding or Resizable BAR. Others may have issues with power sequencing if your PSU cannot deliver clean rail voltages. Always check user reviews for your specific motherboard model before buying.
You also need to consider physical clearance. The V100 with its heatsink is large. The adapter adds height, so ensure your case has enough room. Some users have reported needing to remove drive cages or use riser cables to fit everything.
Way 2: The DIY Approach – 3D Printing and Custom Wiring
If you cannot find an adapter board or want to save money, a DIY route is possible. This method requires access to a 3D printer, basic soldering skills, and a willingness to tinker. It is not for beginners, but it can work.
Building a Custom Bracket
The SXM2 GPU does not have mounting holes that align with a standard PCIe bracket. You can design and 3D print a bracket that holds the card securely in place. The bracket also needs to provide a slot for the PCIe edge connector. Some makers have shared STL files online for V100 SXM2 brackets.
Wiring the PCIe Interface
The hardest part is connecting the SXM2 pins to a PCIe slot. You can salvage a PCIe x16 slot from an old motherboard or buy a cheap PCIe riser cable. Then you need to identify the pinout of the SXM2 connector — which Nvidia does not publish publicly. Enthusiasts have reverse-engineered it, but the process is delicate. One wrong connection can fry the GPU or your motherboard.
Power delivery is another challenge. The SXM2 card expects multiple voltage rails (12V, 3.3V, and sometimes 1.8V). A DIY solution must provide clean power, typically from a PSU via custom regulators. This adds complexity and cost.
Cooling Considerations
Server GPUs like the V100 rely on high-speed chassis fans for cooling. In a desktop case, you need active cooling. The DIY builder in the Hardware Haven video 3D-printed a fan shroud to direct airflow over the card’s heatsink. Without proper cooling, the card will throttle or shut down under load.
Overall, the DIY method is cheap in materials (maybe $20-30 for a riser cable and 3D print filament) but expensive in time and risk. It is best suited for experienced electronics hobbyists who enjoy the challenge.
Way 3: The Enterprise Workaround – Using a Server Motherboard with PCIe Riser
A third option is to acquire a server motherboard that natively supports SXM2 GPUs and then connect it to your consumer system via PCIe. This sounds backwards, but it can be done with the right hardware.
How It Works
Some server motherboards have built-in SXM2 slots. You install the V100 directly on that board. Then you use a PCIe riser cable to connect the server board’s PCIe slots to your consumer motherboard. However, this requires the server board to have its own CPU and memory to initialize the GPU. In practice, you would build a separate mini-server and connect it to your main PC over a network (e.g., via Ethernet) rather than PCIe. That is not really “onto PCIe” in the traditional sense.
A more realistic variant is to use a PCIe to SXM2 adapter in reverse: plug the adapter into a server board’s PCIe slot, then attach the SXM2 GPU. But that is essentially the same as Way 1, just on a server board.
When This Makes Sense
If you already own a compatible server motherboard (perhaps from a decommissioned data center), this method can be cheap. You might get the board for free or very low cost. But you then need a separate PSU, CPU, and RAM for that board, which adds up. The total cost often exceeds the adapter board approach.
You may also enjoy reading: 7 Ways Nvidia’s Ultimate Laptop CPU Could Change Gaming.
This route also consumes more space and power. It is not recommended for most hobbyists unless they have spare server parts lying around.
Comparing the Three Ways: Cost, Difficulty, and Performance
Let’s put the options side by side.
- Adapter board: Cost ~$100. Difficulty moderate. Performance excellent (full PCIe bandwidth). Best for most people.
- DIY fabrication: Cost ~$30-50. Difficulty high. Performance depends on wiring quality. Only for advanced tinkerers.
- Server motherboard workaround: Cost varies, often $200+ for a full server setup. Difficulty high. Performance good but adds complexity.
For the vast majority of readers, the dedicated sxm2 pcie adapter is the clear winner. It balances cost, ease of use, and reliability. The DIY route can be a fun project but carries real risk of damaging expensive components. The server motherboard route is overkill for a single GPU.
What You Need to Know Before Buying an SXM2 PCIe Adapter
Before you click “buy,” consider these practical factors.
Power Supply Requirements
The V100 SXM2 has a TDP of 250-300 watts depending on the variant. Your power supply must deliver that over the PCIe power cables. Most adapters use two 8-pin connectors. Ensure your PSU has enough headroom and that the 12V rail is stable. A cheap PSU can cause instability or shutdowns.
Motherboard Compatibility
Some older motherboards do not support PCIe Gen 3 or Gen 4 devices properly. The V100 is PCIe Gen 3. If your motherboard only supports Gen 2, the card will still work but at reduced bandwidth. For AI inference, bandwidth is less critical than for gaming, but you still want Gen 3 for best performance.
Also check your BIOS settings. Enable “Above 4G Decoding” if available. Some adapters require CSM disabled or UEFI mode. Research your specific board.
Cooling Solutions
The V100’s stock heatsink is designed for high airflow server chassis. In a desktop case, you need to direct air over it. The 3D-printed fan shroud approach works well. Alternatively, you can mount a high-static-pressure fan directly on the heatsink using zip ties or custom brackets. Monitor temperatures with tools like nvidia-smi or GPU-Z. Keep the card below 85°C under load.
Software Setup
Once the hardware is connected, you need drivers. Nvidia’s standard drivers support the V100, but you may need to install the data center driver package rather than the Game Ready driver. For AI inference, tools like Ollama, LM Studio, or llama.cpp work well. The V100’s 16 GB of HBM2 memory is enough for many 7B and 13B parameter models.
The Future of Budget AI Hardware
The current window of opportunity for cheap SXM2 V100 cards may not last. As more hobbyists discover this path, demand will push prices up. Already, some sellers have doubled their asking prices in recent months. If you are considering building a local AI rig on a budget, now is the time to act.
That said, the sxm2 pcie adapter ecosystem is still niche. Supply of adapters is limited, and quality can vary. Stick with trusted sellers and read community forums like r/LocalLLaMA or ServeTheHome for recommendations.
Ultimately, getting a proprietary bus GPU onto PCIe is a rewarding project that unlocks high-end AI performance for a fraction of retail cost. Whether you choose the adapter board, the DIY route, or a server workaround, the key is understanding the trade-offs. With a little research and patience, you can have a V100 running in your desktop, generating tokens faster than many modern consumer cards.


